

It is a long time now that I have not touched any LaTeX. Why? Simply, because I did not have any opportunity to do that again after my Academic studies and research.
With an enormous pleasure, I am back. And, as a first step I had to install it on my MacBook Pro, a supposedly easy and straightforward task for a Linux enthusiast, right? Well, yes and no, and let me argument why.
Mac OS is a BSD-based operating system which unfortunately does not have any official package manager tool, like ‘yum’ on RedHat or ‘apt’ on Ubuntu. With a package manager, everything would be much easier, and maybe this post was not needed at all.
A quite standard tool used on Mac OS machines to install packages is Homebrew. Homebrew is written in Ruby; it provides an easy to use CLI (Command Line Interface) to deal with install/uninstall processes; it is stable, and does its job reasonably well. Unfortunately – again! – Homebrew is not enough to installing LaTeX on a Mac machine, Homebrew Cask is needed: it extends Homebrew just by adding 1 command which allows to a former ‘brew’ to reach 2593 Casks out there.
Hereafter, the installation process for Homebrew and Homebrew Cask.
/usr/bin/ruby -e "$(curl -fsSL https://raw.githubusercontent.com/Homebrew/install/master/install)"<code id="selectable"></code>
brew install caskroom/cask/brew-cask
Once installed Homebrew and Homebrew Cask, it is the time to move forward installing MacTeX and TexMaker, respectively the LaTeX compilation platform (i.e. compiler plus packages) and the rich text editor comprehensive of all the editing features. The process is straightforward and hereafter it is reported.
brew cask install mactex
brew cask install texmaker
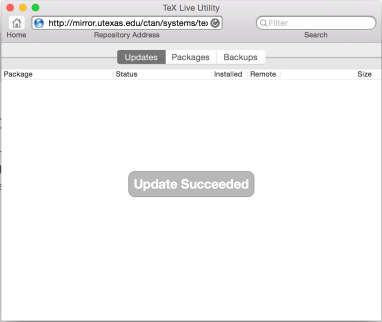
Packages update is an important step to implement right after the installation. Shipped with MacTex there is Tex Live Utility (an interactive UI application for managing LaTeX packages and their installation/update/removal), via TeX Live the installed packages need to be updated before to concretely start working with the brand new LaTeX platform: updates are pulled out from the CTAN (Comprehensive TeX Archive Network) archives/repositories, so whatever official installed package will be taken into consideration for update. Once completed, a display like the below one will be presented.
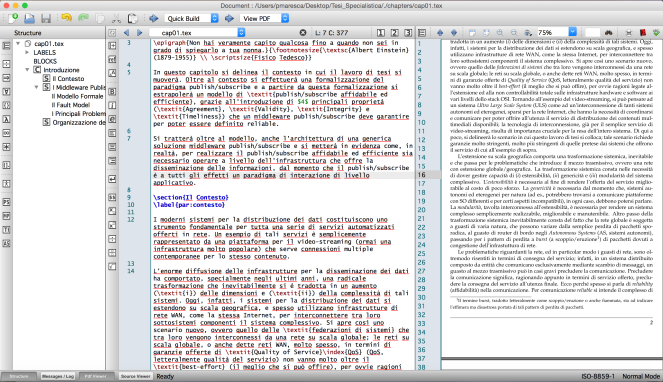
To start writing your beautiful documents, you can use the previously installed TexMaker. A window like the below one will be displayed, where the LaTeX project and its files can be controlled: on the leftmost side, the project structure is displayed, on the rightmost side, the PDF rendering is presented, and in the center your LaTeX code. At least, this is the default organization.
Concluding, I found the process quite straightforward, by the way I thought that enlisting the steps like in a tutorial might help some of the folks out there attempting the same installation.

Love GNU Linux but love the MAC hardware and keyboard and homebrew bridges the gap, thanks for supplying us with the packages and brew cask commands! 😀
LikeLike
Thanks for sharing this, it’s exactly what I was looking for on the OS X platform. 😀
LikeLike
Glad to have you comment and follow this blog.
I look forward to your future feedback!
LikeLike
Thanks a lot 🙂 Found this via Google, and it worked a treat.
LikeLike
Thanks Guido. I hope you will enjoy reading the blog.
LikeLike
Thanks a million. This is helpful to me.
LikeLike
Happy to hear your feedback!
LikeLike
I’ve been using MacTeX for years. Just download the DMG, and let it install itself. You don’t need anything else.
LikeLike
Hey!
I found your guide really useful, and whilst having homebrew for a long time, never knew about the awesomeness that is cask!
One small issue I’ve found was that I believe cask is actually a part of homebrew now, so there is no need to install from caskroom/cask/brew-cask. Although, please do feel free to double check that!
Thanks for your guide!
LikeLiked by 1 person
I will do definitely! Thanks for reading and appreciating.
LikeLike
‘brew install caskroom/cask/brew-cask’ throws ‘Error: Cask ‘brew-cask’ is unavailable: ‘/usr/local/Homebrew/Library/Taps/caskroom/homebrew-cask/Casks/brew-cask.rb’ does not exist.’
to use cask simply use: ‘brew tap caskroom/cask’
LikeLiked by 1 person
Thanks! this helped me a lot. I also discovered a simpler LaTeX/Markdown editor in the process that doesn’t require a full LaTeX install: https://archimedesapp.com
LikeLike
maybe you could edit your blog to include the last comment here: using brew tap caskroom/cask indeed works.
LikeLike